
Getting Started
By the end of this guide a door in your level fades the screen, waits two seconds and plays a sound when the game starts. You create a FlowPilot asset, fill it with Tasks, and run it with a FlowPilot Component.
1. Create a FlowPilot asset
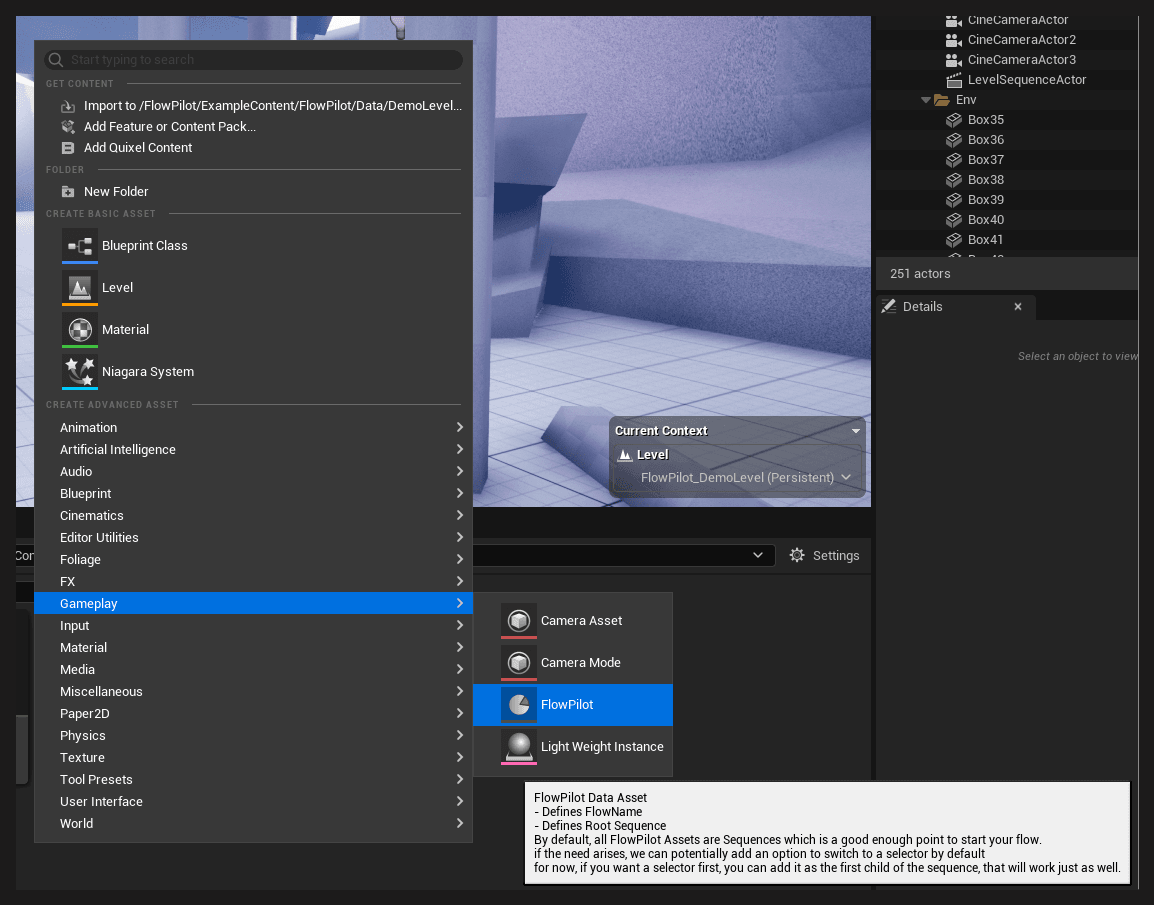
- In the Content Browser, right-click an empty area and open the Gameplay category.
- Pick FlowPilot and name the asset, for example
FP_DoorIntro. - Double-click the asset to open the FlowPilot Editor.
2. Find your way around the editor
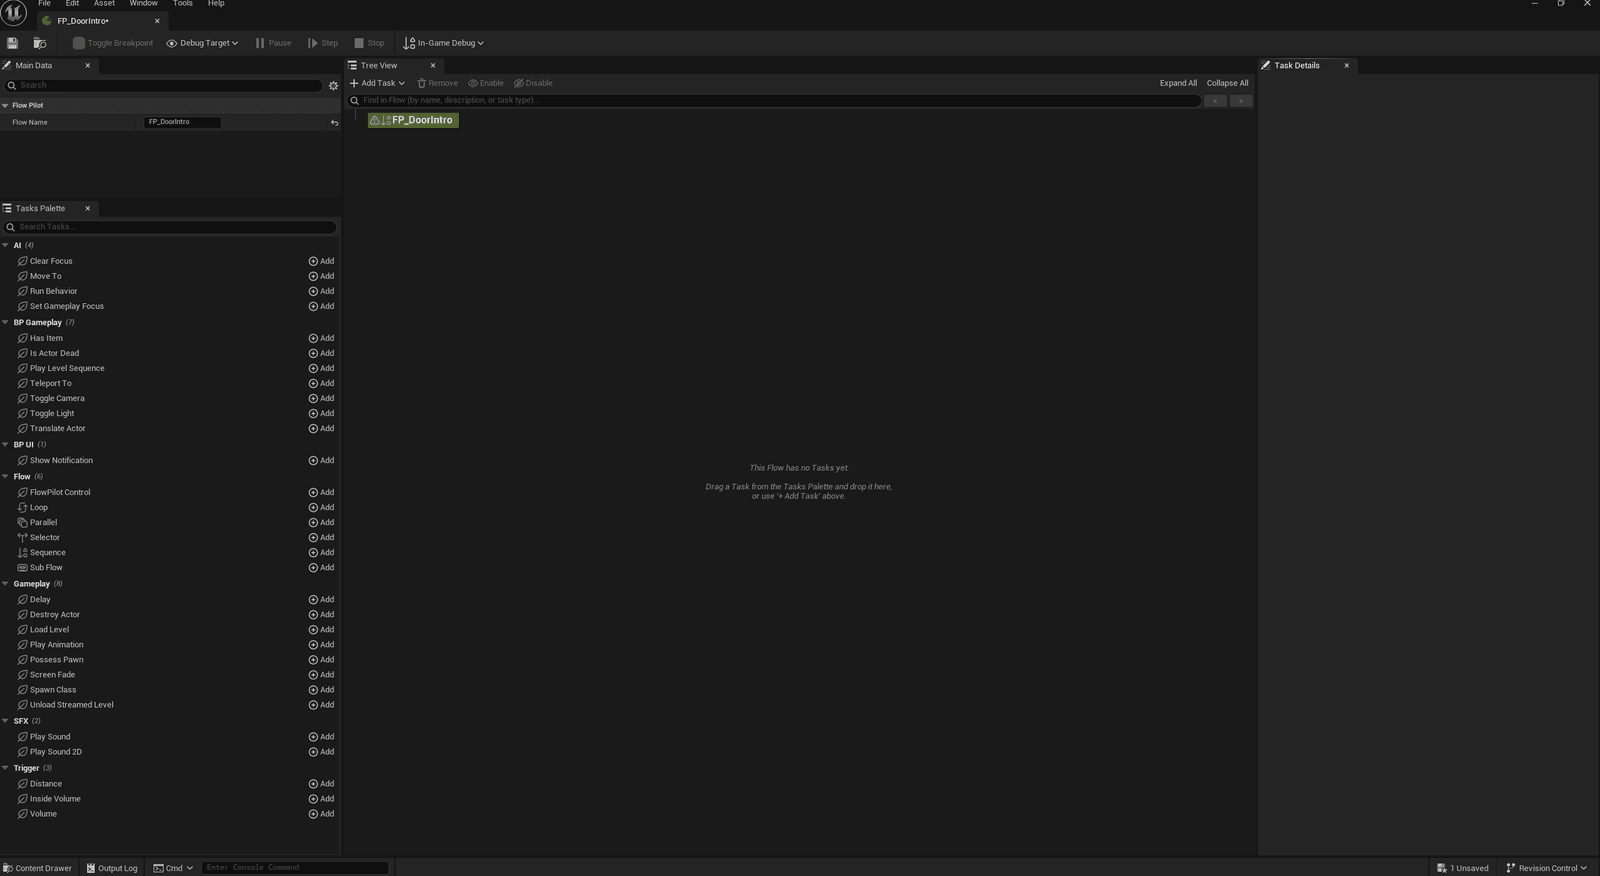
The editor has four panels. Every new asset starts with a Root Sequence named after the asset: everything you add goes under it.
| Panel | Where | What it is for |
|---|---|---|
| Main Data | Top left | Asset settings, such as the Flow Name. |
| Tasks Palette | Bottom left | Every Task you can add, grouped by category, with a search box. |
| Tree View | Center | The flow itself: Tasks run top to bottom. |
| Task Details | Right | Settings of the selected Task, and its Class. |
3. Add Tasks
There are three ways to add a Task:
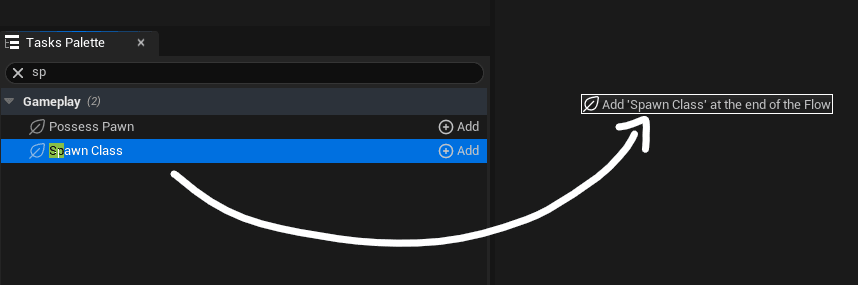
- Drag and drop a Task from the Tasks Palette onto the Tree View. The label under the cursor tells you where it lands, e.g.
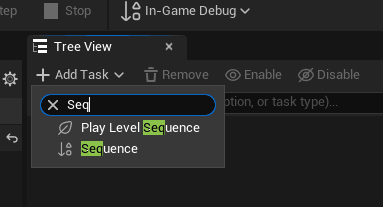
Add 'Delay' after 'Screen Fade'. Drop on a Sequence to add inside it, or on empty space to add at the end of the flow. - + Add Task at the top of the Tree View opens a searchable list. Start typing to filter it.
- Double-click a Task in the Palette, or press its Add button.
With Add Task and double-click, the new Task goes into the selected Task if it holds Tasks (Sequence, Selector, Parallel), and right after it otherwise. With nothing selected it goes at the end of the flow.
For the door, add Screen Fade, then Delay, then Play Sound, and set their options in Task Details: the fade, 2 seconds of delay, and the sound to play.
4. Organise the flow
| Action | How |
|---|---|
| Move Tasks | Drag them in the Tree View: above, below, or onto a Sequence to move inside it. |
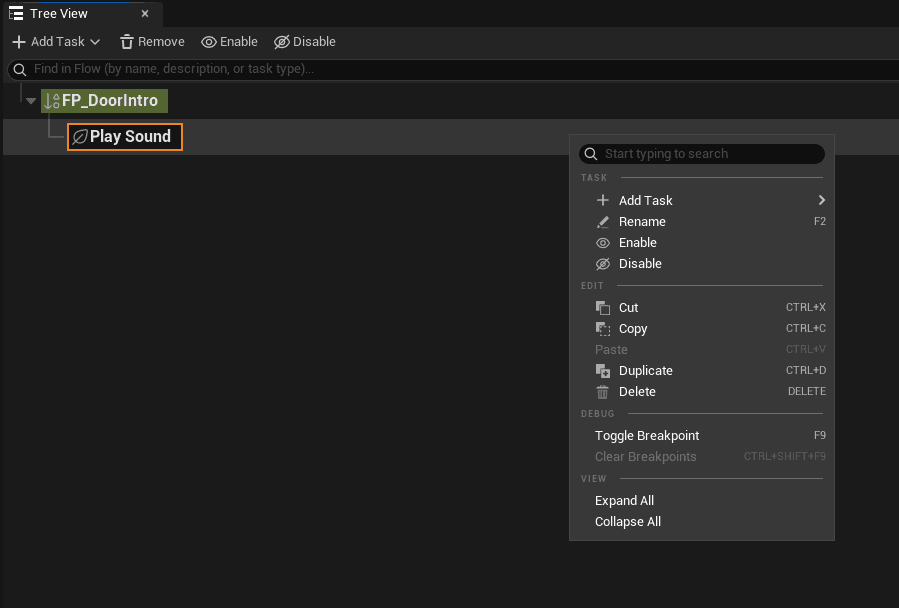
| Rename | Select and press F2, or double-click a Task that has no children. |
| Skip a Task without deleting it | Disable it from the toolbar, the right-click menu or the row button. Disabled Tasks show [Disabled] and are skipped at runtime. |
| Copy, paste, duplicate | Ctrl+C, Ctrl+V, Ctrl+D. Paste and duplicate place the copy next to the selection. |
| Delete | Delete, or the Remove button (asks for confirmation). |
| Change a Task's type | Task Details › Class. Switching between Sequence, Selector and Parallel keeps the children. |
| Find a Task | The search bar above the tree matches names, descriptions and Task types. |
| Undo / redo | Ctrl+Z / Ctrl+Y undo every change above, including Task Details edits. |
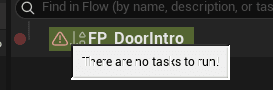
A warning icon on a Task means its settings are invalid: hover it to see why. Save the asset when you are done.
5. Run the flow in a level
- Open the Actor that should own the flow (the door Blueprint, or any Actor in the level) and add a FlowPilot Component.
- Set Flow Pilot Asset to
FP_DoorIntro. - Tick Auto Start On Begin Play to start when the game starts, or call Start Flow from Blueprint.
- Press Play.
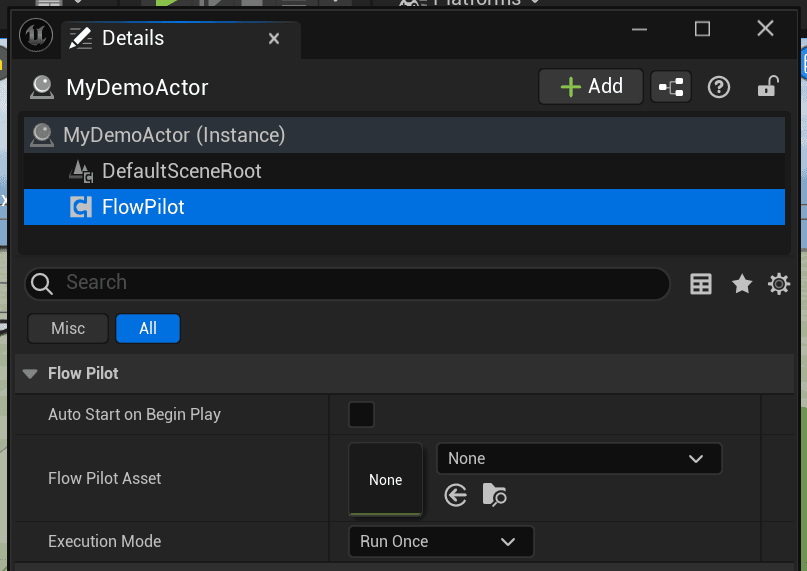
Execution Mode decides whether the flow restarts:
| Execution Mode | Behaviour |
|---|---|
| Run Once | Runs the flow once. |
| Run Until Succeed / Run Until Fail | Restarts until the flow succeeds / fails once. |
| Run While Succeed / Run While Fail | Restarts as long as the flow keeps succeeding / failing. |
| Run Non Stop | Restarts forever. |
Retry Delay waits between restarts. From Blueprint you can also Pause Flow, Un Pause Flow, Stop Flow and Set Flow Pilot Asset, and bind to On Flow Started, On Flow Completed and On Flow Error. See the FlowPilot Component reference.
6. Point Tasks at Actors
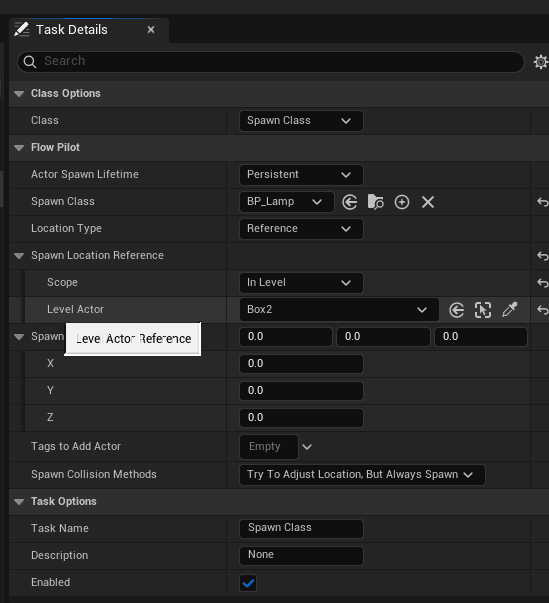
Tasks that act on Actors use a Flow Actor Reference with three scopes:
| Scope | Finds |
|---|---|
| Self | The Actor that owns the FlowPilot Component. |
| In Level | An Actor you pick in the level. |
| Runtime | Actors with a GameplayTag, including Actors spawned during play (e.g. by Spawn Class with Tags To Add Actor). |
Next: Debugging Flows.