
Tutorial: Spawn an AI
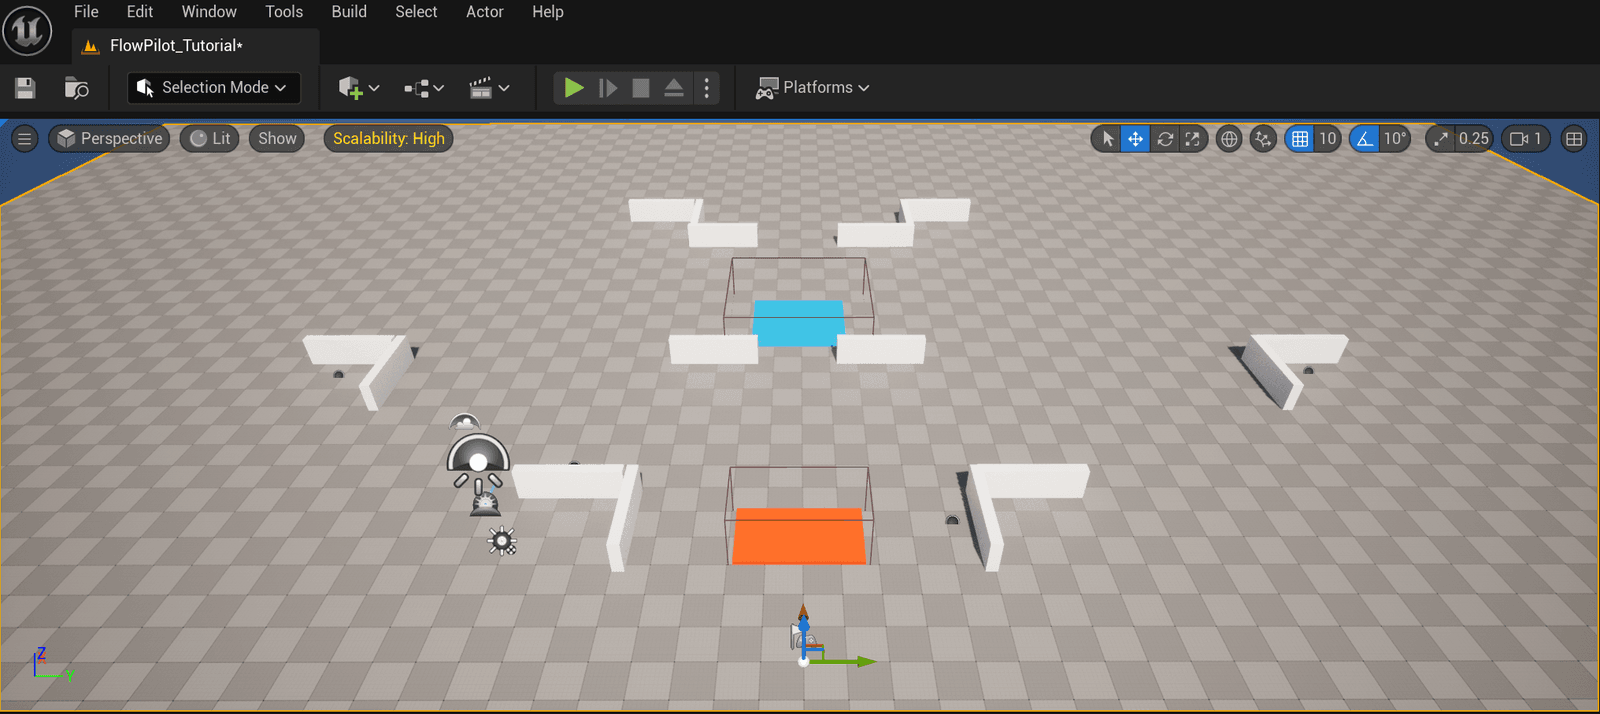
This tutorial uses the FlowPilot_Tutorial level that ships with the plugin. You create a flow that spawns an AI when the level starts, then change where it spawns.
Prep work
Open the FlowPilot_Tutorial level. If you play it now, nothing happens besides the player character spawning.
Create the FlowPilot asset
- In the Content Browser, create a FlowPilot asset from Gameplay › FlowPilot.
- Name it
FP_Tutorialand save it.
INFO
Saving an empty FlowPilot asset shows a data validation warning. That is expected: the asset has no Tasks yet.
Run it from an Actor
A flow runs on any Actor with a FlowPilot Component.
Add an Actor to the level, and add a FlowPilot Component to it.
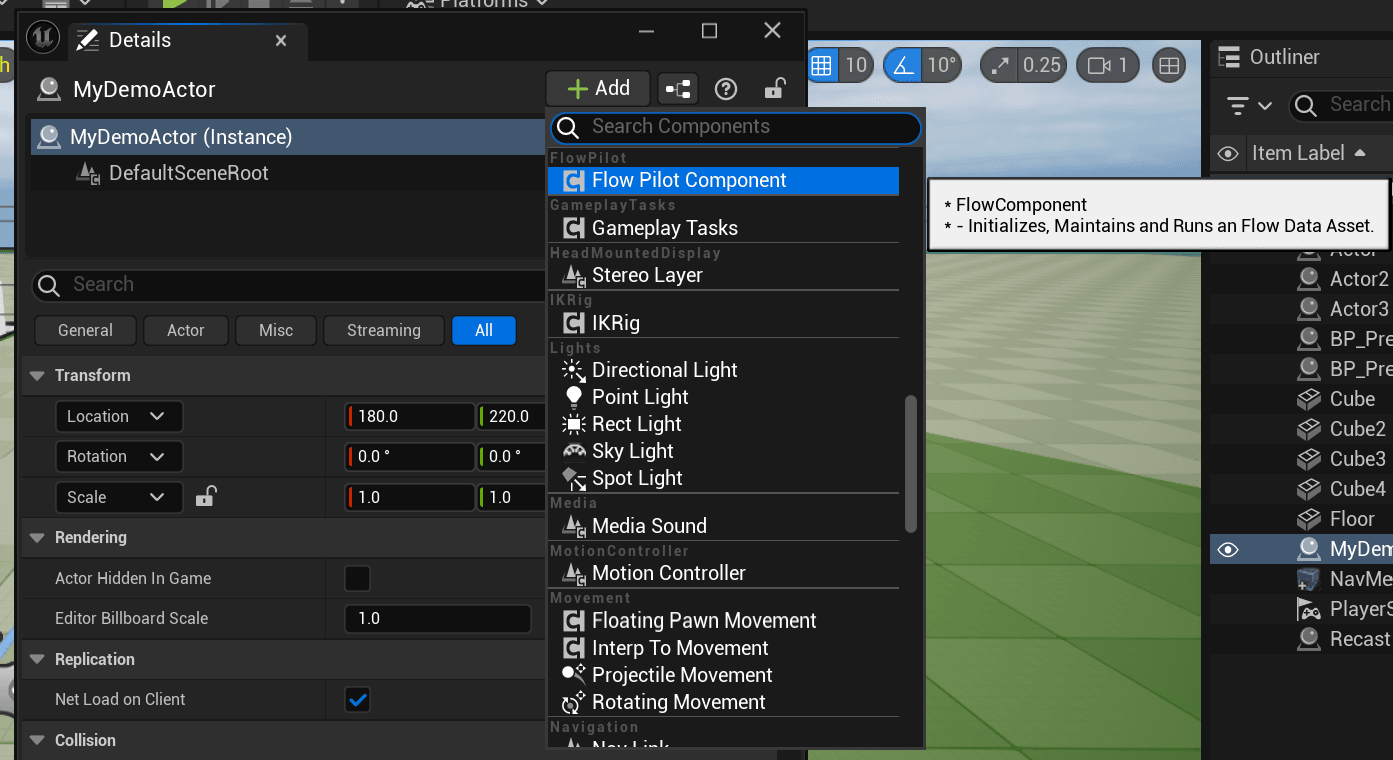
Adding a FlowPilot Component to an Actor. In the Details panel, set Flow Pilot Asset to
FP_Tutorial.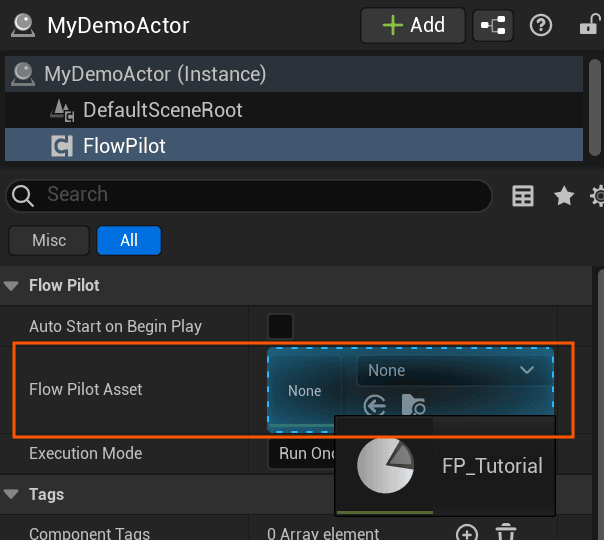
Linking the FlowPilot asset. Tick Auto Start On Begin Play so the flow starts with the level.
Leave Execution Mode on Run Once.
Spawn the AI
Open
FP_Tutorial.Add a Spawn Class Task: drag it from the Tasks Palette onto the Tree View, or use + Add Task.
In Task Details, set Spawn Class to
BP_SimpleAI(included with the plugin).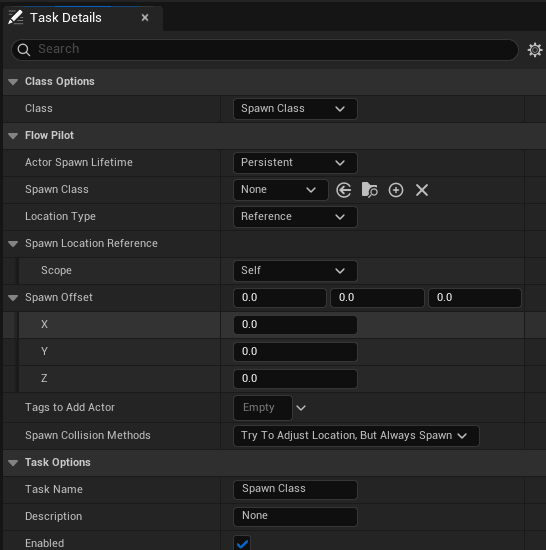
Spawn Class settings. Save and press Play. The AI spawns in the level.
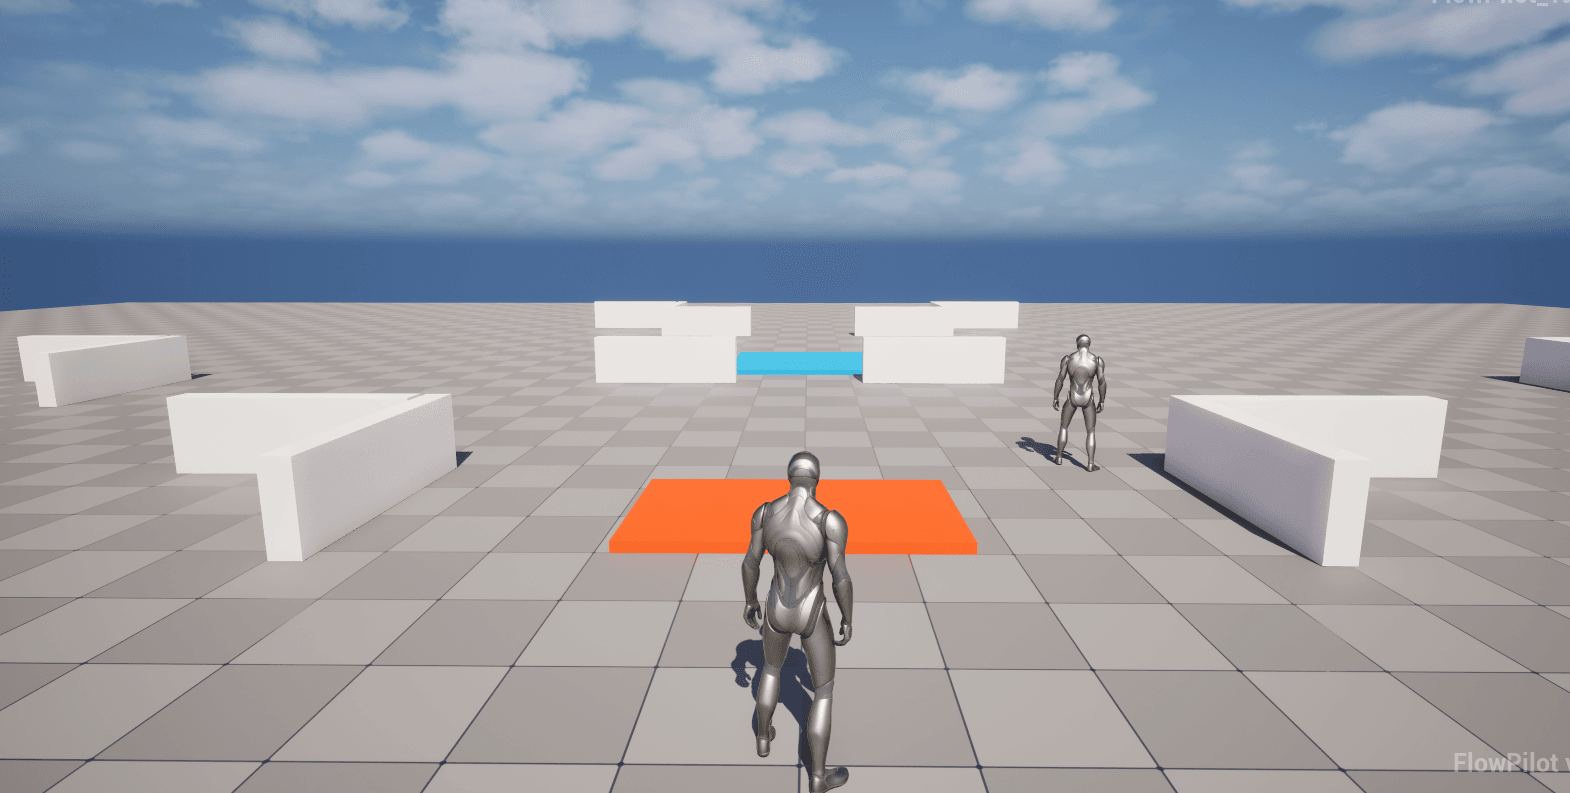
The AI spawned by the flow.
Change where it spawns
The AI spawns at the Actor that owns the FlowPilot Component. Two properties control this:
- Location Type: World spawns at the Spawn World Location and Spawn World Rotation you enter.
- Location Type: Reference spawns at the Spawn Location Reference, a Flow Actor Reference:
- Self: the Actor running the flow.
- In Level: any Actor you pick in the level.
- Runtime: an Actor found by GameplayTag.
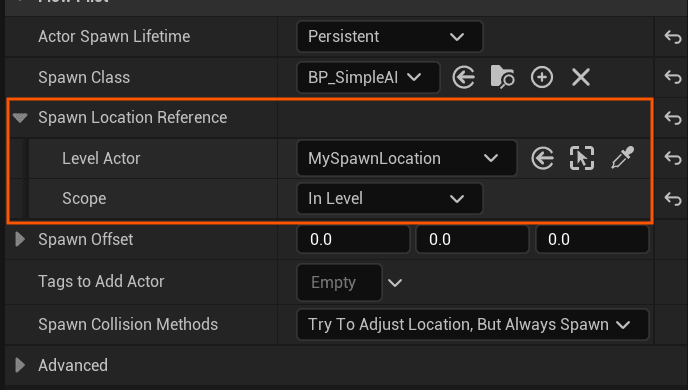
Try each one, then continue with Debugging Flows to watch the flow run.